Python 3.11 has to be downgraded to Python 3.10, or Multiprocessing will cause TypeError: code() argument 13 must be str, not int in both Windows and Linux. Google Colab is currently using Python 3.10 as well.
Windows 11(64-bit),VSCode,Powershell,Miniconda3,Python 3.10- repo: https://github.com/Nov05/udacity-deep-reinforcement-learning
- working dir: D:\github\
udacity-deep-reinforcement-learning\python - package
deeprlis copied and modified from https://github.com/ShangtongZhang/DeepRL/tree/master/deep_rlinto.\python. - package
baselinesis installed from https://github.com/openai/baselines branchtf21. - package
mujoco-pyis installed frommujoco-py-1.50.1.68. Unity ML-Agentsbuilds are stored in..\data, e.g...\data\Banana_Windows_x86_64.
conda create --name drlnd_py310 python=3.10
conda activate drlnd_py310
cd python
nvidia-smi
conda install cuda --channel "nvidia/label/cuda-12.1.0"
nvcc --version
conda install pytorch torchvision torchaudio pytorch-cuda=12.1 -c pytorch -c nvidia
pip install -r requirements_py310.txt
python -m ipykernel install --user --name=drlnd_py310
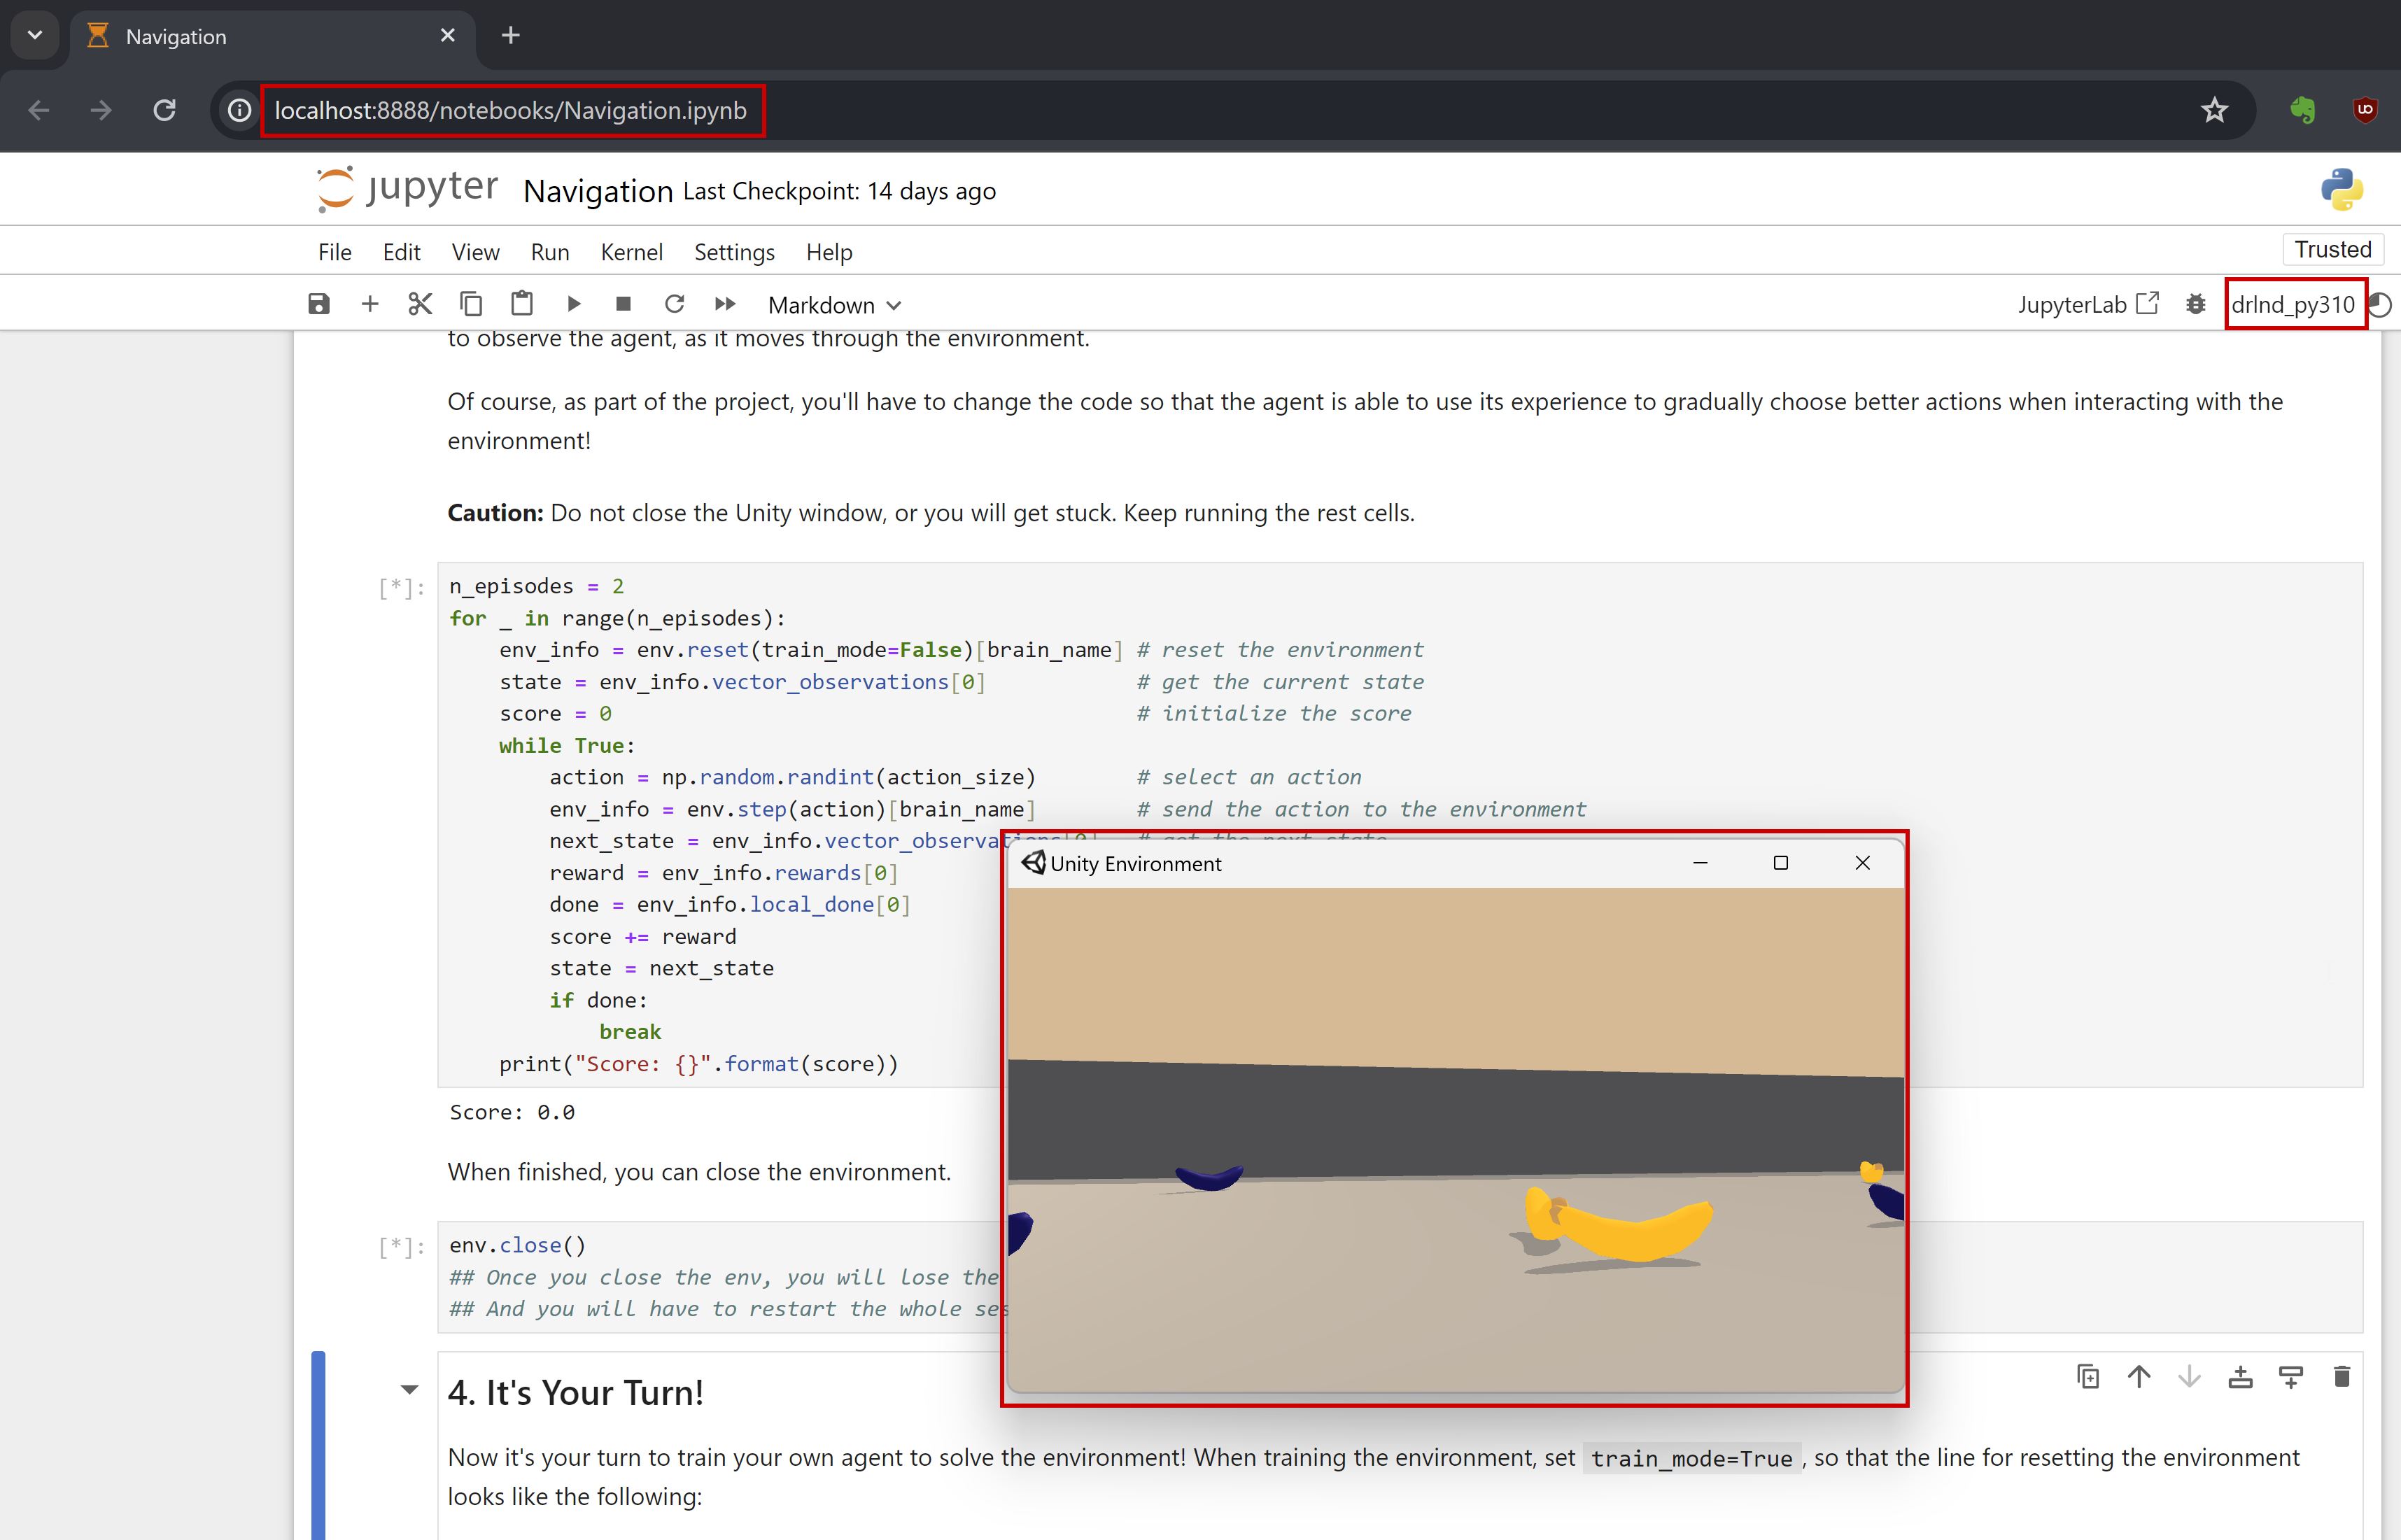
jupyter notebook ../p1_navigation/Navigation.ipynb
jupyter notebook ../p1_navigation/Navigation_Pixels.ipynb
🟢 after the above steps, the env should be ready for project p1, and you should be able to run the p1 notebook from your browser. (check the original setup notes)
- P.S.
requirements_py310.txt(tensorflow==2.16.1would cause error.)
tensorflow==2.15.0
bleach
matplotlib
pytest
pyyaml
protobuf==3.20.3
grpcio
numpy==1.23.5
pandas
scipy
ipykernel
jupyter
- get
mjpro150 win64, placemjpro150in%USERPROFILE%/.mujoco. - get
mjkey.txt, place it in%USERPROFILE%/.mujoco.
$env:path -split ";"
$env:PATH += ";C:\Users\*\.mujoco\mjpro150\bin"
- download
mujoco-py-1.50.1.68.tar.gzfrom https://pypi.org/project/mujoco-py/1.50.1.68/#files, unzip the file and placemujoco-py-1.50.1.68in%USERPROFILE%/.mujoco(or anywhere you can manage). from this version about,mujoco-pydoesn't support windows.
tar -xvzf mujoco-py-1.50.1.68.tar.gz
- add the following two lines of code in the file
%USERPROFILE%/.mujoco/mujoco-py-1.50.1.68/setup.pyfor installation ofmujoco-py.
os.add_dll_directory(r"C:/Users/guido/.mujoco/mjpro150/bin")
os.add_dll_directory(r"C:/Users/guido/.mujoco/mujoco-py-1.50.1.68/mujoco_py")
- add the code below in the file
.\deeprl\__init__.py.
import os, platform
if platform.system()=='Windows':
    os.add_dll_directory(r"C:/Users/guido/.mujoco/mjpro150/bin")
    os.add_dll_directory(r"C:/Users/guido/.mujoco/mujoco-py-1.50.1.68/mujoco_py")
    os.environ['TF_ENABLE_ONEDNN_OPTS'] = '0'
- install the following packages
pip install lockfile glfw imageio
pip install "cython<3"
pip install C:\Users\guido\.mujoco\mujoco-py-1.50.1.68
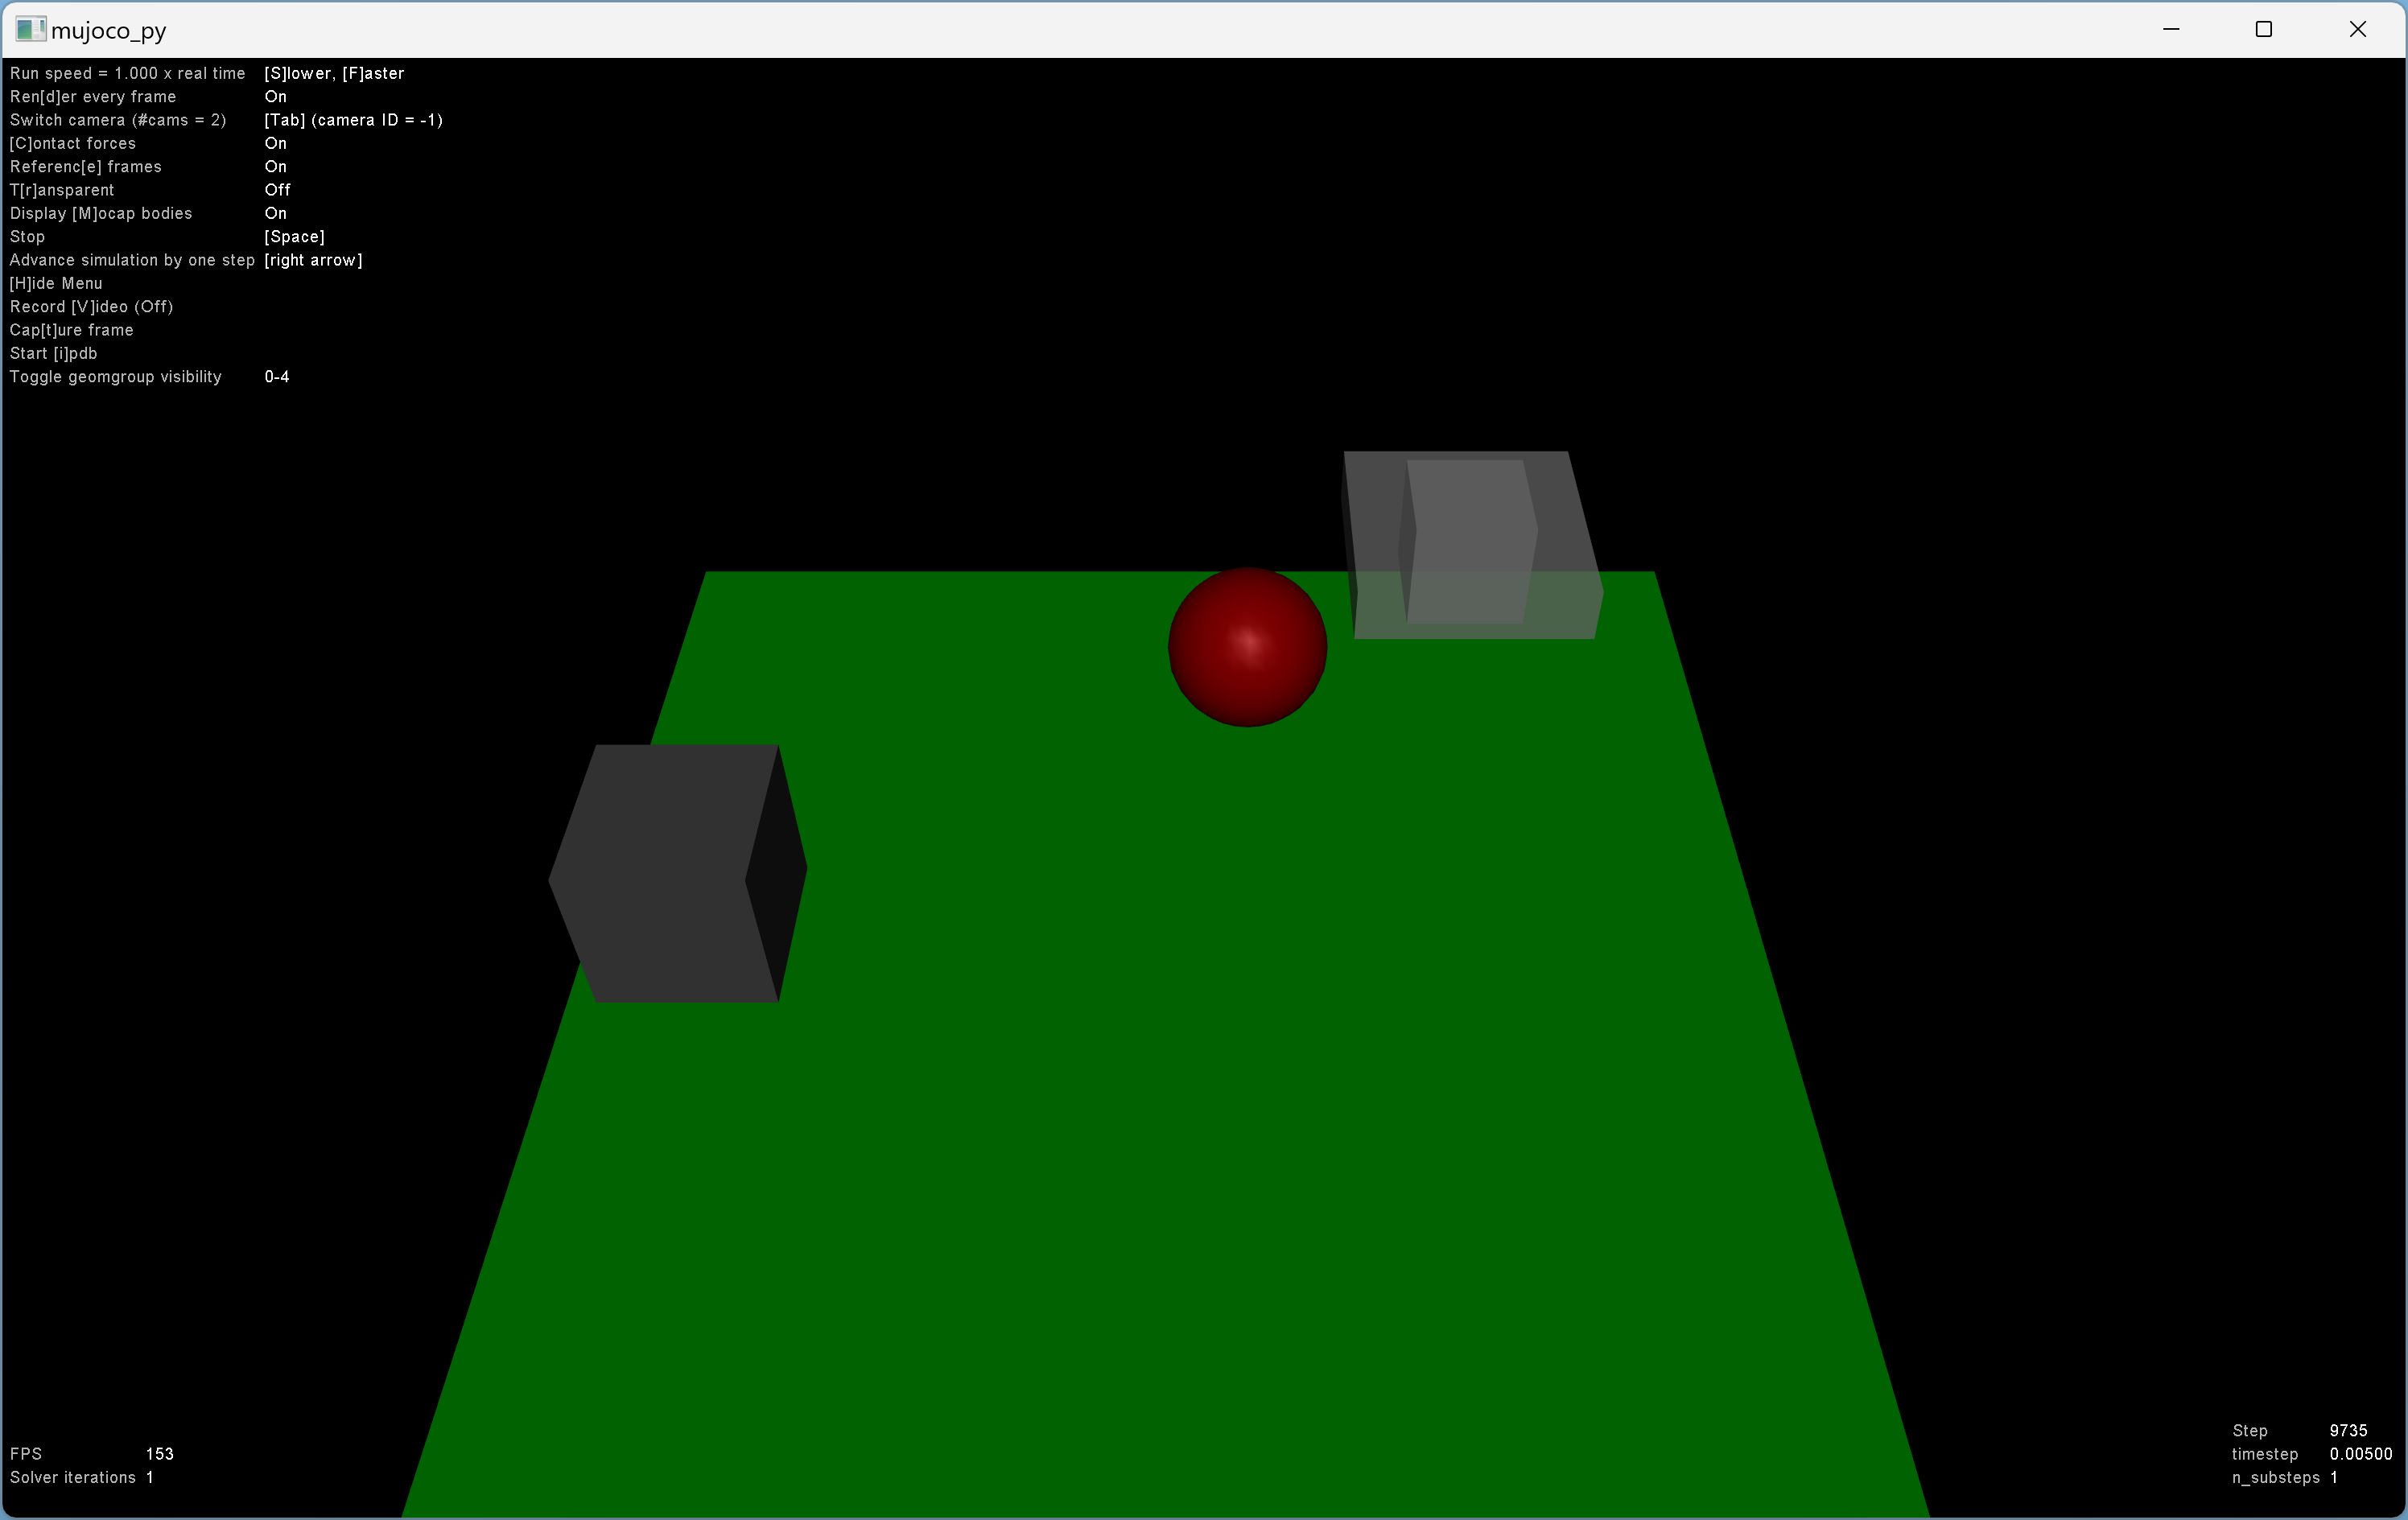
python mujoco-py\examples\body_interaction.py
🟢 Now you should be able to see something like this in the video.
- install OpenAI
Baselines(forTensorFlow 2). after the installation, delete the filebaselines\.git.
pip install --upgrade pip setuptools wheel
pip install opencv-python
git clone --branch tf2 https://github.com/openai/baselines.git
cd baselines
pip install -e .
cd..
- Install OpenAI
Gymafter the installation ofBaselines.
Baselines will install gym==0.13.1, which would cause errors.
pip install gym==0.14.0
pip install gym[atari,accept-rom-license]
pip install bleach==1.5.0
download this file Atari-2600-VCS-ROM-Collection.zip, unzip it, place the folder 'ROM' in the .\data dir. if you encounter FileNotFoundError: Could not find module ale_c.dll, download ale_c.dll and place it under dir D:\Users\*\miniconda3\envs\drlnd_py310\Lib\site-packages\atari_py\ale_interface\ale_c.dll (yours would be different). then run the following command again.
python -m atari_py.import_roms D:\github\udacity-deep-reinforcement-learning\data\Atari-2600-VCS-ROM-Collection\ROMS
python -c "import atari_py; print(atari_py.list_games())"
🟢 you should be able to see the following list of games.

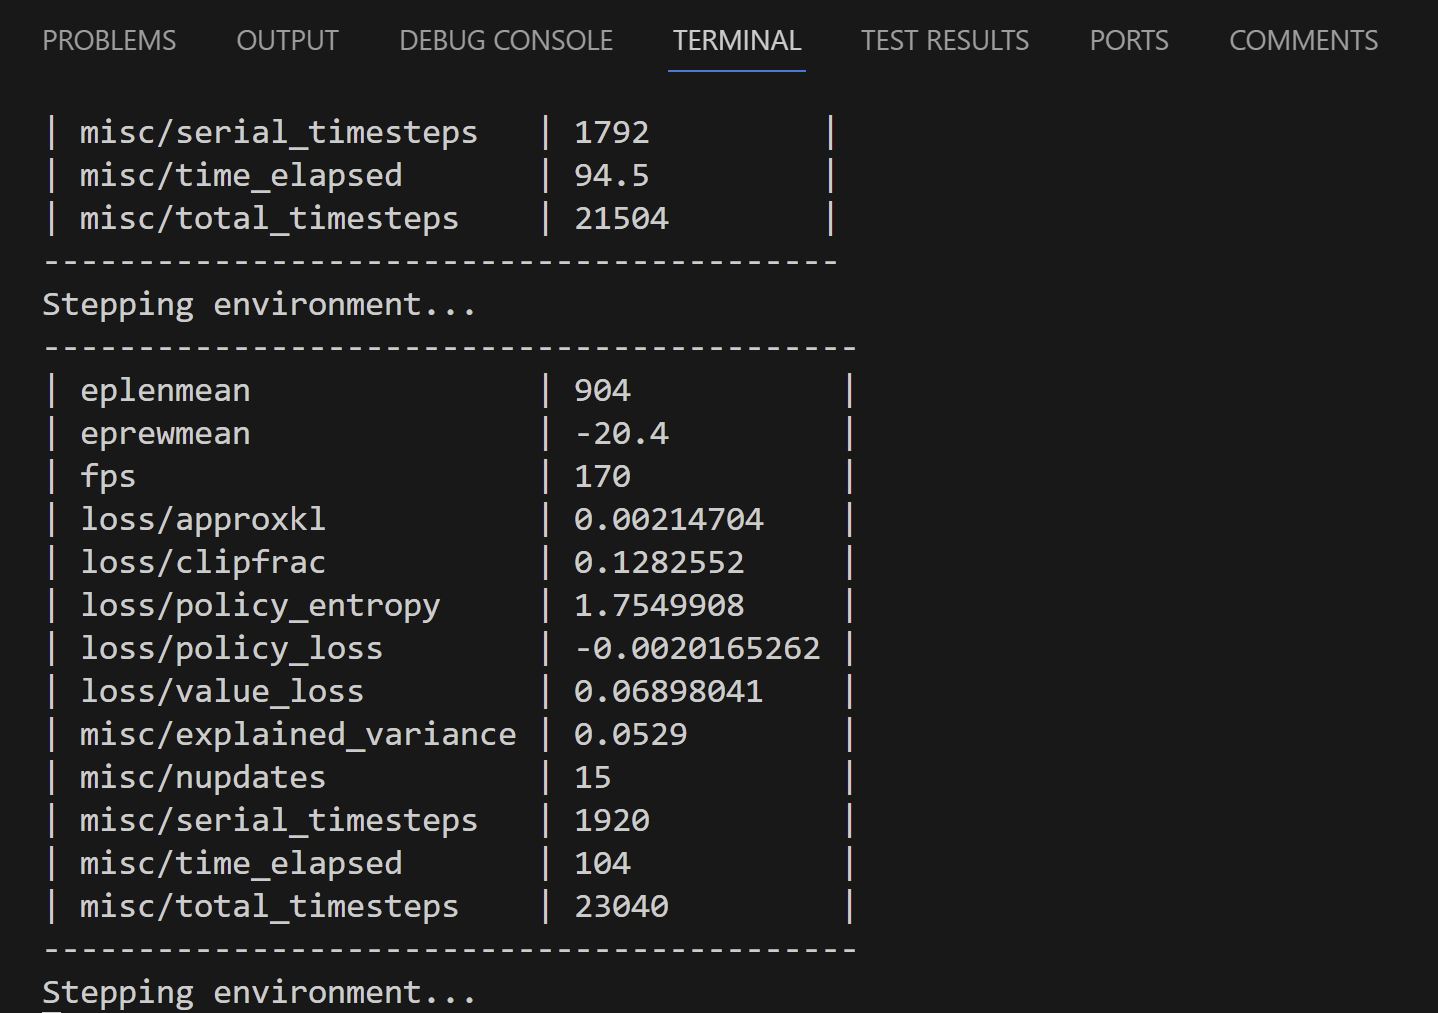
🟢 run a Baselines example, and you should be able to see the following output.
$python -m baselines.run --alg=ppo2 --env=PongNoFrameskip-v4 --save_path=~/models/PongNoFrameskip-v4_1M_ppo2 --log_path=~/log
- install the rest packages in the
./python/deeprl/requirements.txtfor thedeeprlpakcage
pip install -r .\deeprl_files\requirements.txt
jupyter notebook D:\github\udacity-deep-reinforcement-learning\p2_continuous-control\Continuous_Control.ipynb
jupyter notebook D:\github\udacity-deep-reinforcement-learning\p2_continuous-control\Crawler.ipynb
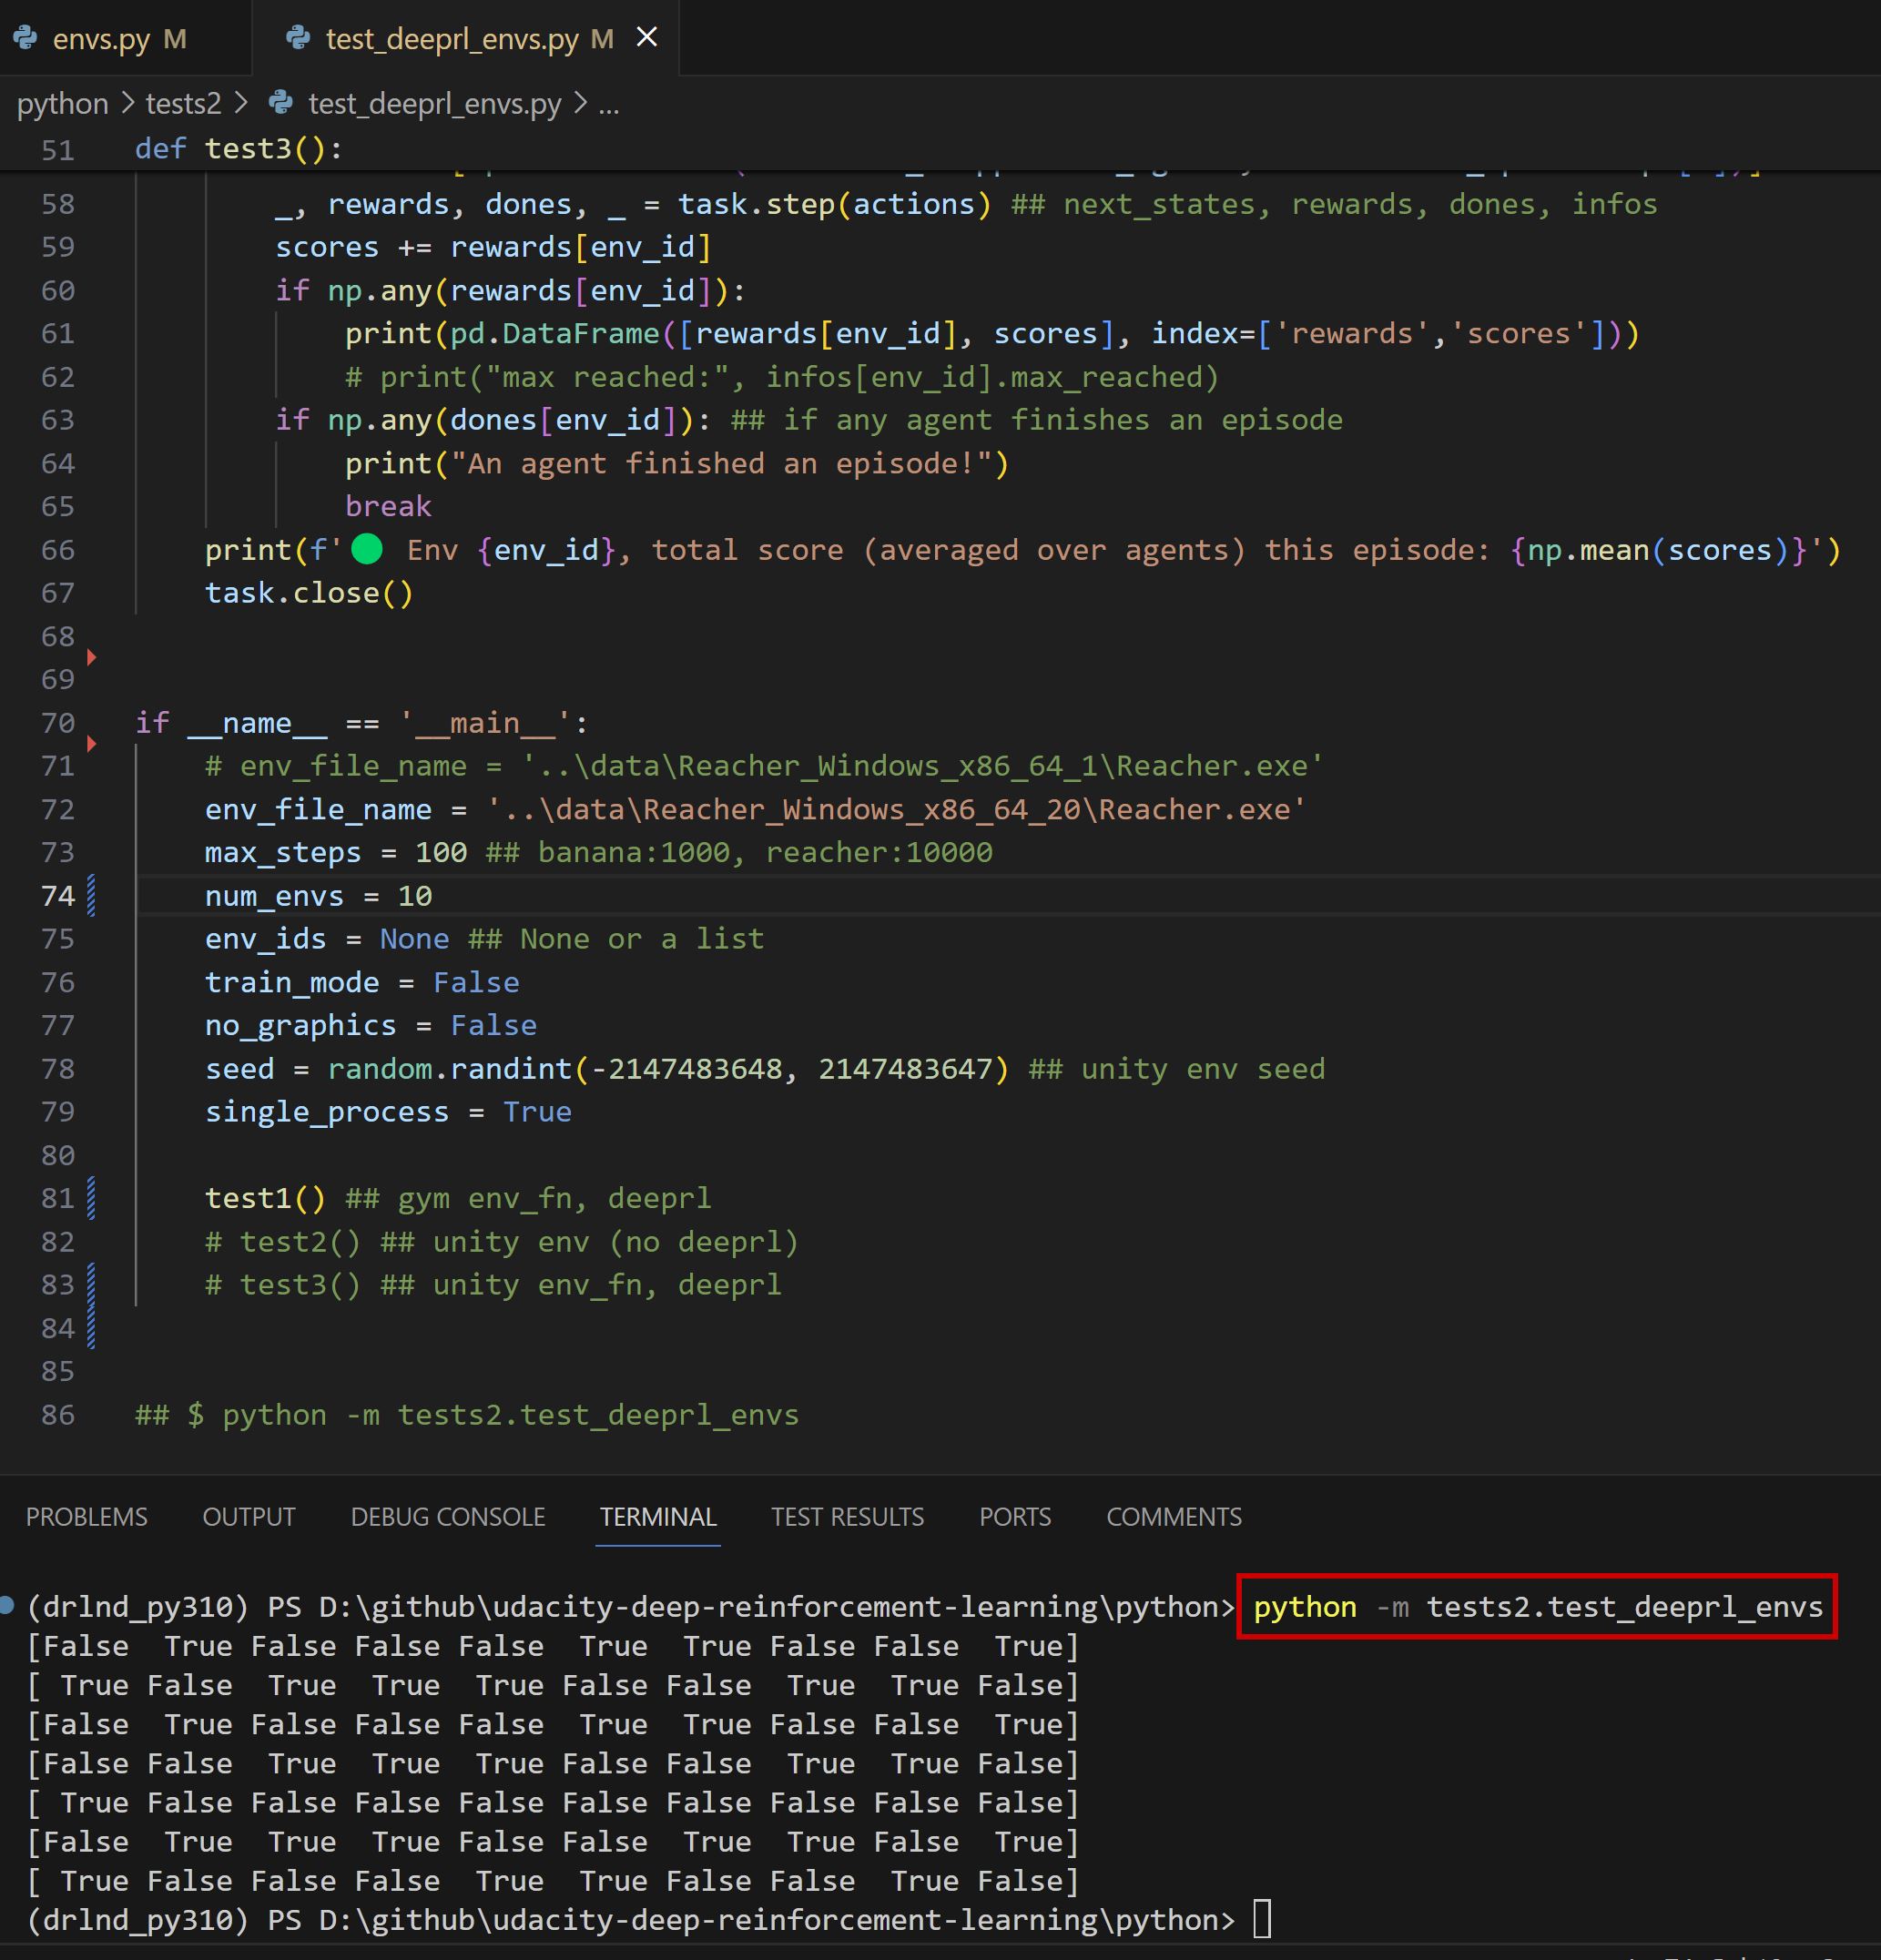
python -m tests2.test_deeprl_envs
🟢 now you can use deeprl and should be able to see some output. (check the original p2 & deeprl env setup notes.)
- if you see
WARNING:tensorflow:From D:\Users\*\miniconda3\envs\drlnd_py310\lib\site-packages\keras\src\losses.py:2976: The name tf.losses.sparse_softmax_cross_entropy is deprecated. Please use tf.compat.v1.losses.sparse_softmax_cross_entropy instead.Suppress the warning function inD:\Users\*\miniconda3\envs\drlnd_py310\Lib\site-packages\tensorflow\python\util\module_wrapper.py:133.
  def _tfmw_add_deprecation_warning(self, name, attr):
return False ##---✅ i added this line to bypass the whole function.- run
deeprlexamples indeerl_files\examples.py.
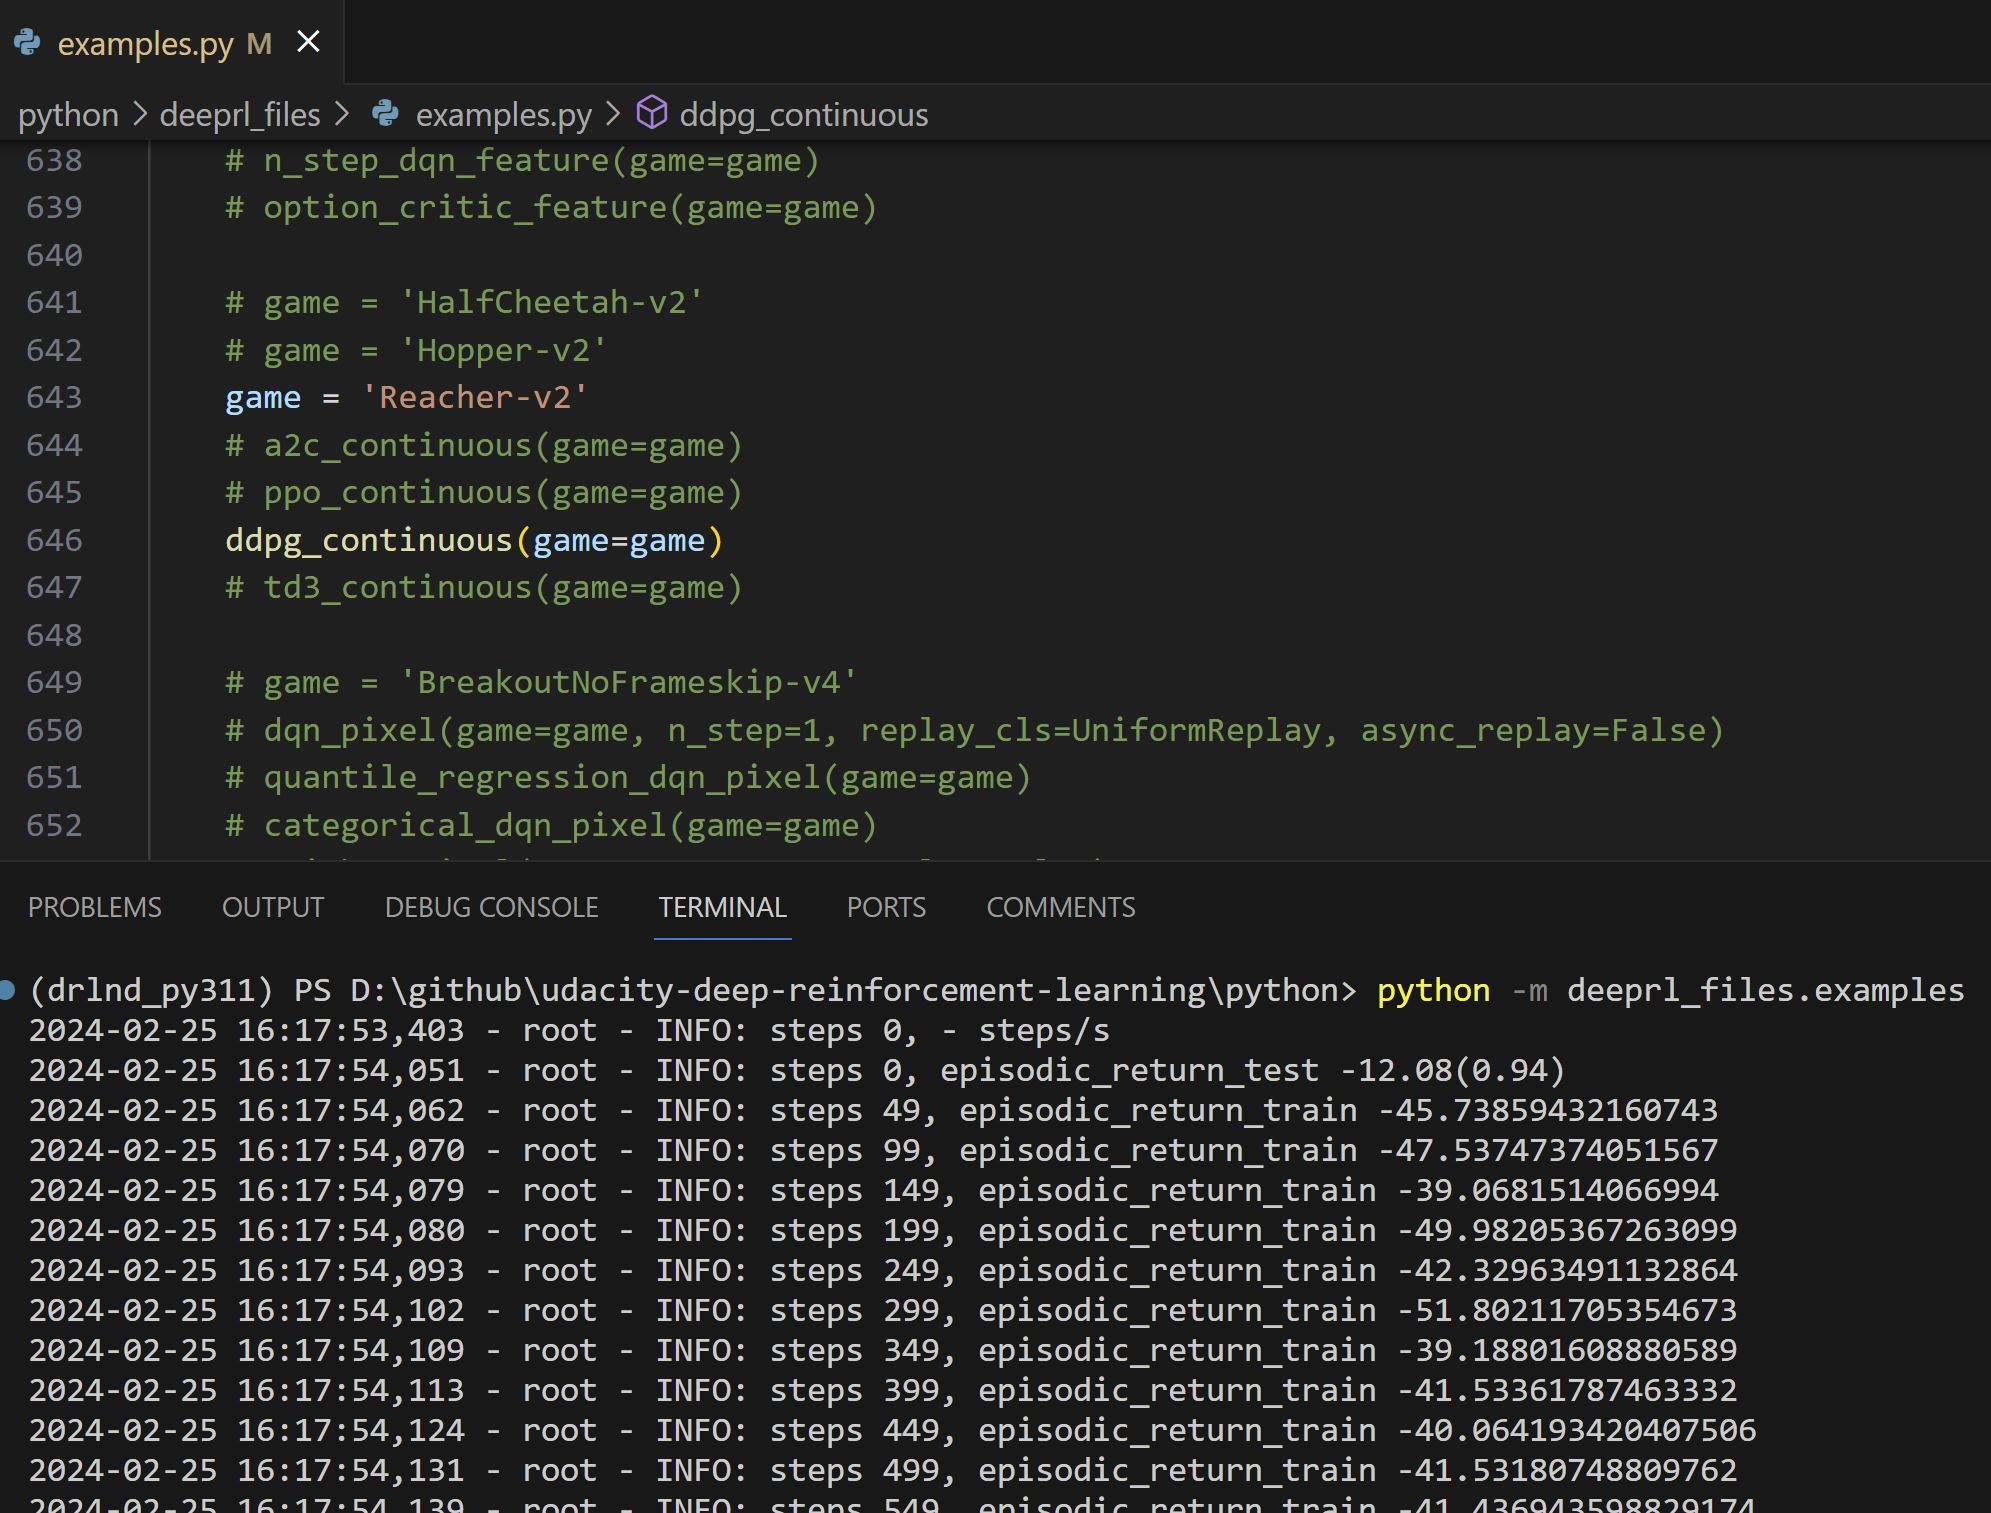
e.g. runReacher-v2with theDDPGalgorithm
python -m deeprl_files.examples
if __name__ == '__main__':
    mkdir('log')
    mkdir('tf_log')
    set_one_thread()
    random_seed()
    # -1 is CPU, an non-negative integer is the index of GPU
    # select_device(-1)
    select_device(0) ## GPU

    game = 'Reacher-v2'
    # a2c_continuous(game=game)
    # ppo_continuous(game=game)
    ddpg_continuous(game=game)
🟢 you should be able to see something like this in the video.
drlnd_py310_backupfordrlnd_py310.