1. Add Components and sources using cocoapods to your podfile.
//Weavr Component and KYC
pod 'WeavrComponents' ,'1.1.0'
pod 'IdensicMobileSDK' , '1.19.5'
source 'https://cdn.cocoapods.org/'| # How to Enable or Disable Peer to Peer Connection in Viva Terminal App | |
| ## Overview | |
| This guide will help you turn on or off the Peer to Peer connection feature in your Viva Terminal app. The Peer to Peer protocol (also known as 'Local Terminal API') allows Twine POS system to communicate with your card terminal device over the same network. | |
| --- | |
| ## Requirements |
1. Add Components and sources using cocoapods to your podfile.
//Weavr Component and KYC
pod 'WeavrComponents' ,'1.1.0'
pod 'IdensicMobileSDK' , '1.19.5'source 'https://cdn.cocoapods.org/'Release key need to be added and do some regular steps as per react -native guidelines https://reactnative.dev/docs/signed-apk-android
Instead of creating aab we will create apk
Create assets directory inside Android like below
/Users/tareq/code/threls/react-native/sdk/weavr-react-native/example/android/app/src/main/assets
4.Bundle assets using the following command
| ## How we can publish a xcframework to cocoapod with a single command | |
| ### Step 1: We have to make sure we can publish the framework to cocoapod manually | |
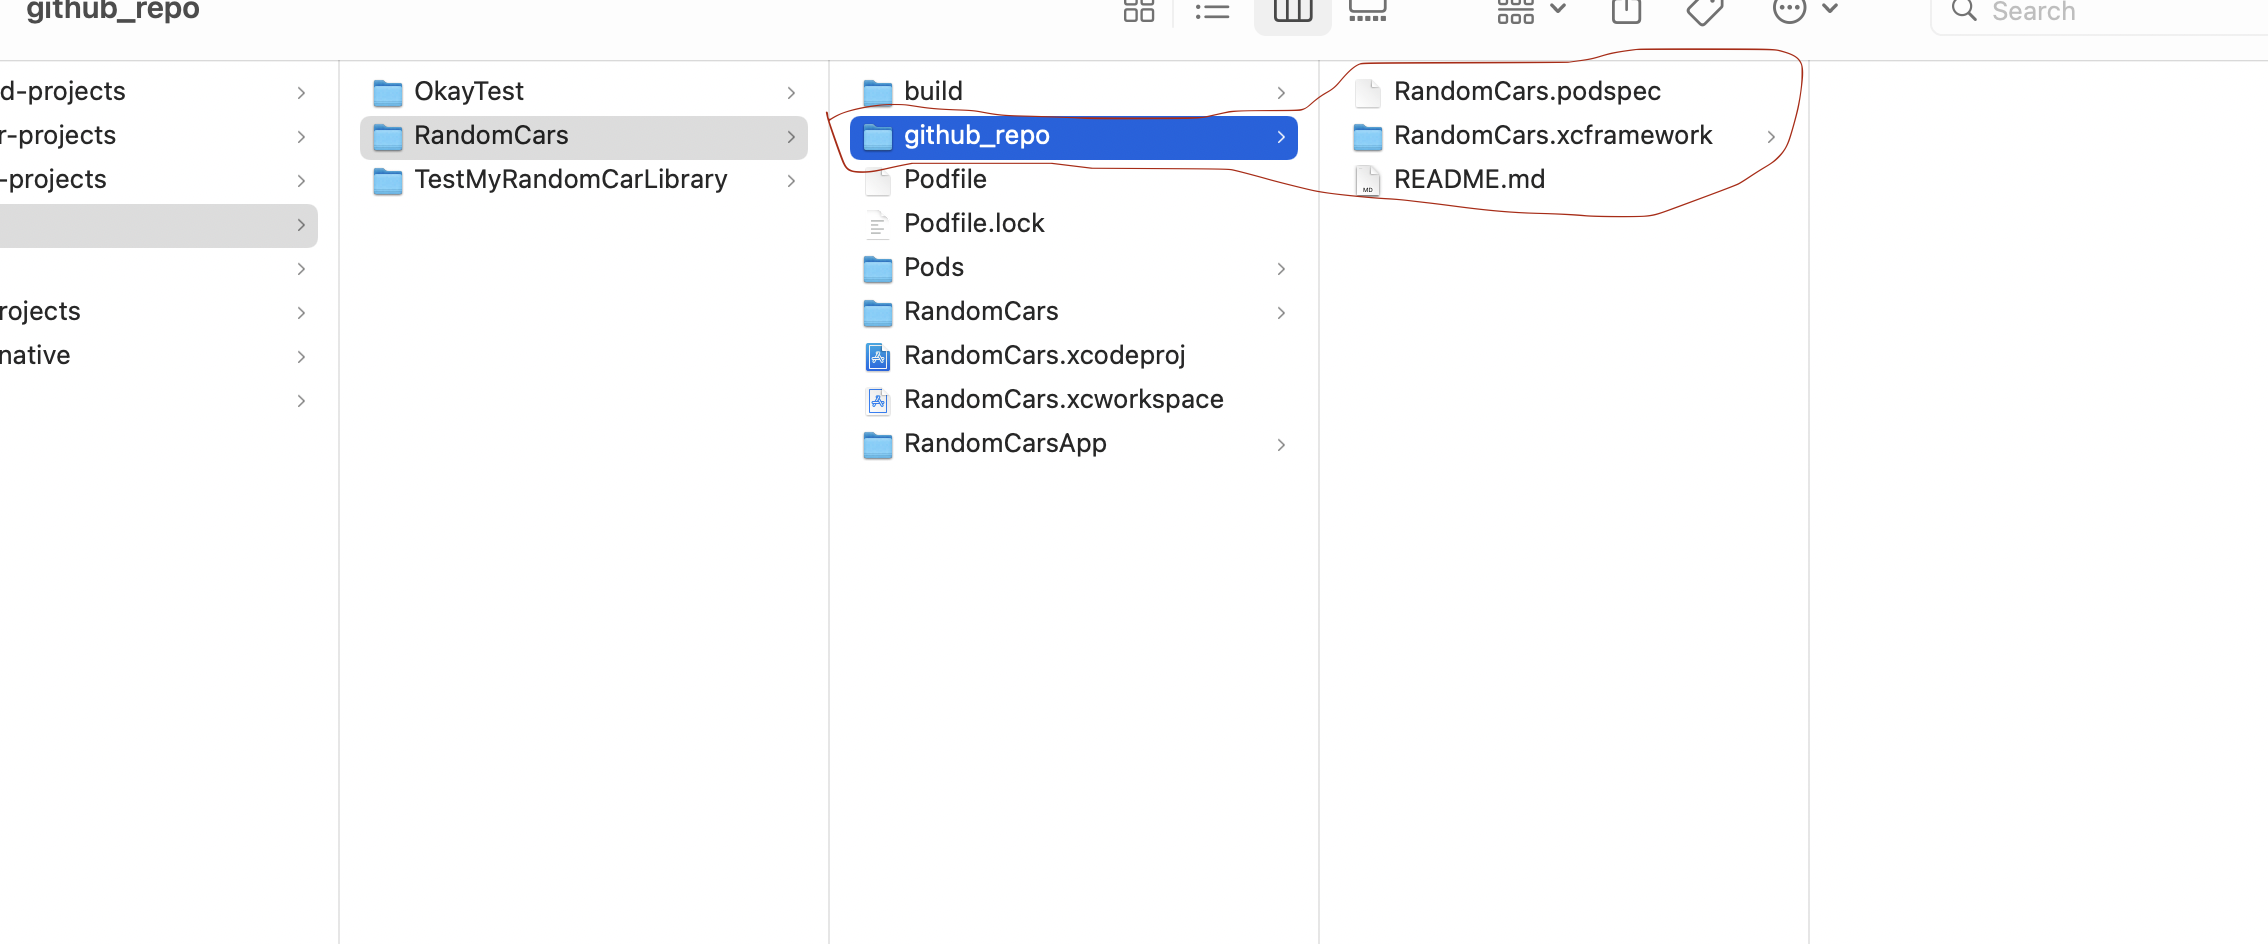
| ### Step 2: Then start a terminal from remote repo directory which holds the framework and podspec file | |
|  | |
| ### Step 3 : Run `fastlane init` command to initialize fastlane in this directory and press "4" when to select manual deploy | |
| This should generate fastlane directory and Gem files and Gemfile.lock |
| ``` | |
| main() { | |
| List<Test> first = [Test(1,"temp"), Test(2,"temp")]; | |
| first.where((e)=> e.no==2).map((e){ | |
| e.no= 5; | |
| }).toList(); | |
| first.forEach((e)=> | |
| print(e.toJson()) |